一、Seata简介
Apache Seata是一款开源的分布式事务解决方案,致力于在微服务架构下提供高性能和简单易用的分布式事务服务。Seata 将为用户提供了AT、TCC、SAGA 和 XA 事务模式,为用户打造一站式的分布式解决方案。
二、Seata-Server安装
Server支持多种方式部署:二进制部署、Docker,、Docker-Compose、Kubernetes、Helm。
1、基于二进制
1)系统要求
JDK:JDK 8或更高版本
CPU:1核及以上,支持64位的CPU
内存:2G及以上
操作系统:64位的Linux、Mac OS X、Windows
# 这里采用二进制部署,下载地址:https://seata.io/zh-cn/unversioned/download/seata-server
2)下载Seata二进制安装包
[root@localhost ~]# wget --no-check-certificate https://github.com/apache/incubator-seata/releases/download/v1.8.0/seata-server-1.8.0.zip
3)解压安装包
[root@localhost ~]# unzip seata-server-1.8.0.zip -d /usr/local/
4)启动Seata-Server
# 支持的启动参数
-h/--host:指定在注册中心注册的IP,不指定时获取当前的IP,外部访问部署在云环境和容器中的server建议指定。
-p/--port:指定server启动的端口,默认为8091。
-m/--storeMode:事务日志存储方式,支持file,db,redis,默认为file,注:redis需seata-server1.3版本及以上。
-n/--serverNode:用于指定seata-server节点ID,默认为1。
-e/--seataEnv:指定seata-server运行环境,如dev,test等, 服务启动时会使用registry-dev.conf这样的配置。
[root@localhost ~]# /usr/local/seata/bin/seata-server.sh -h 127.0.0.1 -p 8091 -m file
5)查看服务进程和监听端口
[root@localhost ~]# ps -ef |grep seata
[root@localhost ~]# netstat -lntup |egrep "7091|8091"
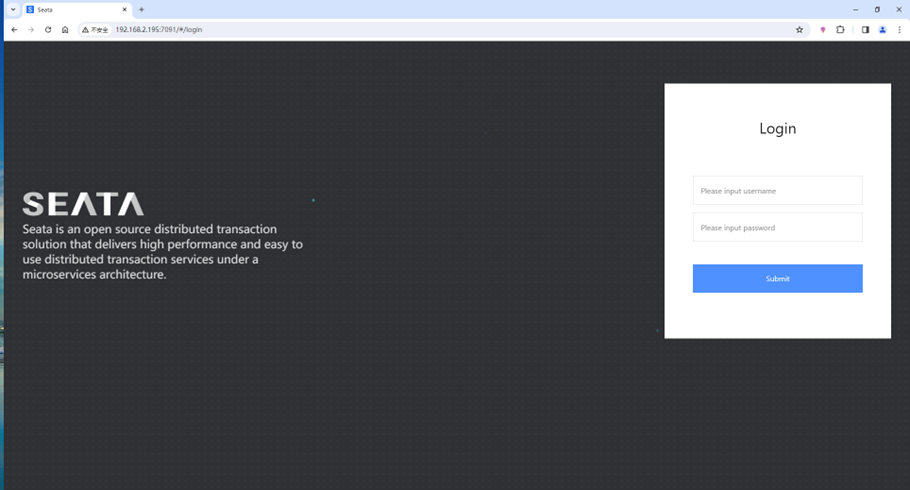
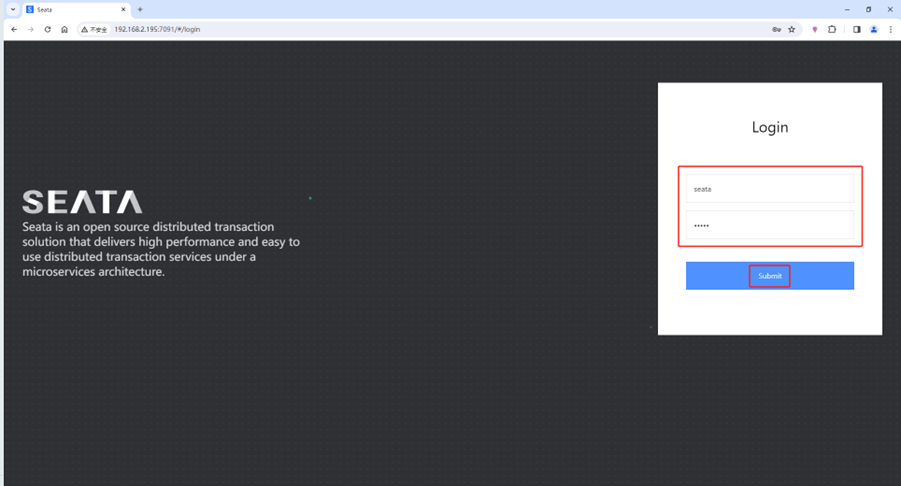
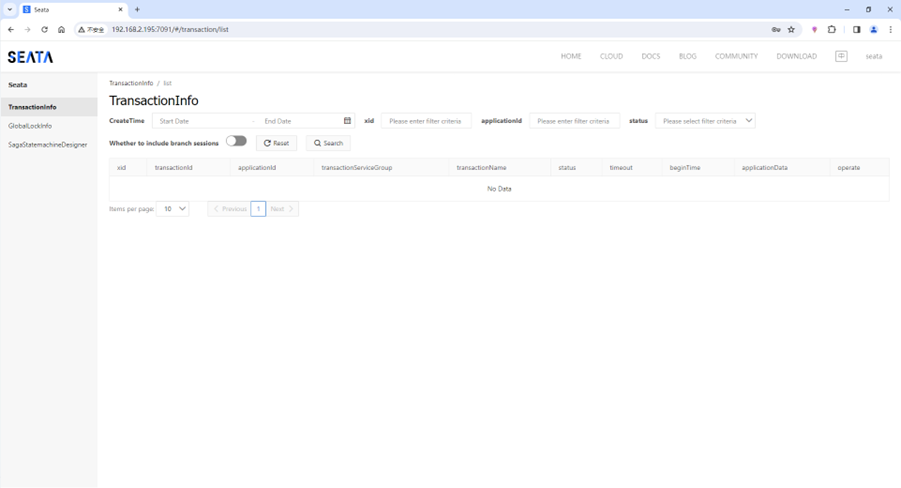
6)访问Seata-Server
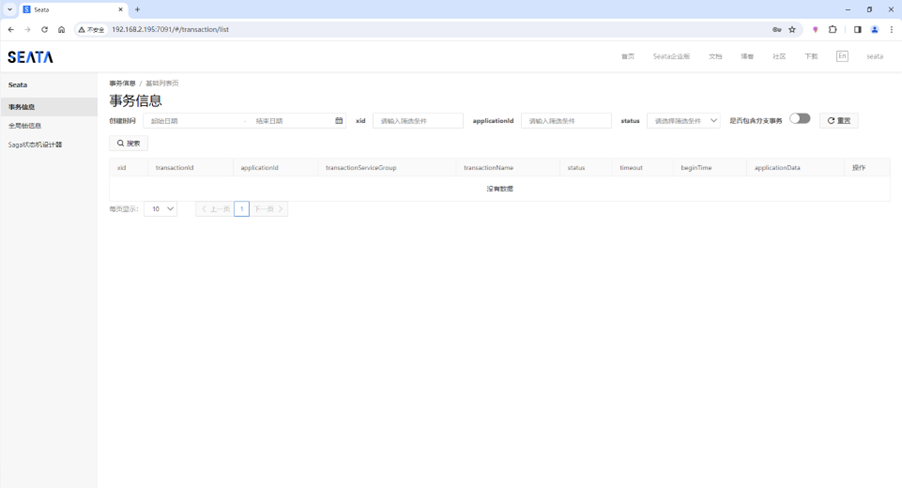
# 浏览器访问:http://192.168.2.195:7091,如下图所示
# 默认账号:seata,默认密码:seata
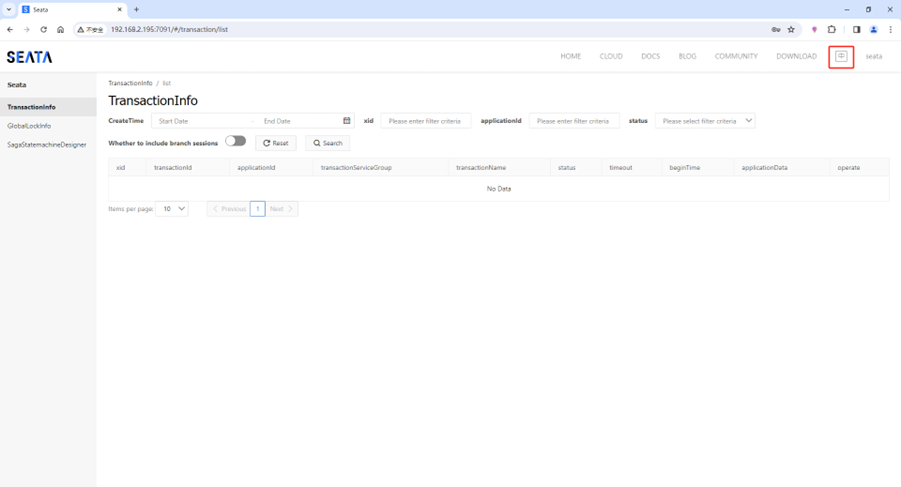
7)切换中文
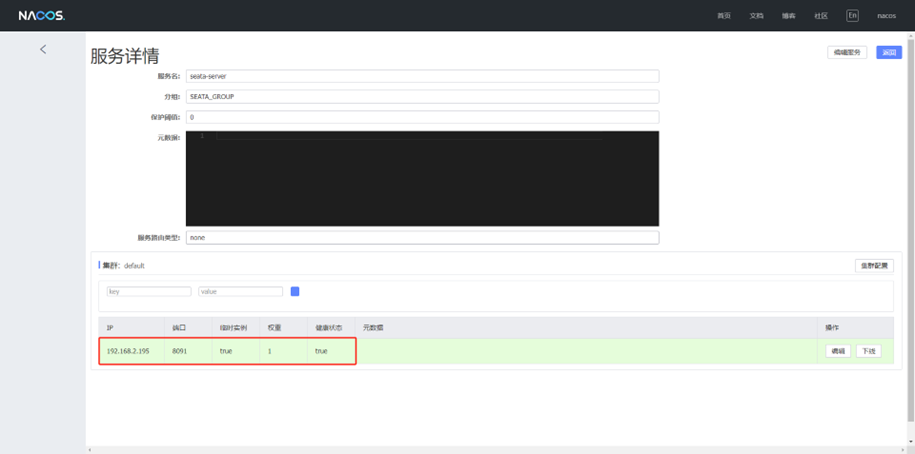
8)配置Nacos注册中心
1、修改application.yml
[root@localhost ~]# vim /usr/local/seata/conf/application.yml
# 标红字为需要更改内容
server:
  port: 7091
spring:
  application:
    name: seata-server
logging:
  config: classpath:logback-spring.xml
  file:
    path: ${log.home:${user.home}/logs/seata}
  extend:
    logstash-appender:
      destination: 127.0.0.1:4560
    kafka-appender:
      bootstrap-servers: 127.0.0.1:9092
      topic: logback_to_logstash
console:
  user:
    username: seata
    password: seata
seata:
  config:
    type: file
    nacos:
      server-addr: 192.168.2.195:8848
      namespace:
      group: SEATA_GROUP
      username: nacos
      password: nacos
      context-path:
      data-id: seataServer.properties
  registry:
    type: nacos
    nacos:
      application: seata-server
      server-addr: 192.168.2.195:8848
      group: SEATA_GROUP
      namespace:
      cluster: default
      username: nacos
      password: nacos
      context-path:
  store:
    mode: db
    db:
      datasource: druid
      db-type: mysql
      driver-class-name: com.mysql.jdbc.Driver
      url: jdbc:mysql://192.168.2.195:3306/seata?rewriteBatchedStatements=true
      user: seata
      password: seata
      min-conn: 10
      max-conn: 100
      global-table: global_table
      branch-table: branch_table
      lock-table: lock_table
      distributed-lock-table: distributed_lock
      query-limit: 1000
      max-wait: 5000
  security:
    secretKey: SeataSecretKey0c382ef121d778043159209298fd40bf3850a017
    tokenValidityInMilliseconds: 1800000
    ignore:
      urls: /,/**/*.css,/**/*.js,/**/*.html,/**/*.map,/**/*.svg,/**/*.png,/**/*.jpeg,/**/*.ico,/api/v1/auth/login
2、创建数据库及授权
mysql> create database seata;
Query OK, 1 row affected (0.00 sec)
mysql> grant all on seata.* to seata@'localhost' identified by 'seata';
Query OK, 0 rows affected, 1 warning (0.01 sec)
3、导入数据表
[root@localhost ~]# mysql -u seata -pseata seata < /usr/local/seata/script/server/db/mysql.sql
4、重启seata-server
[root@localhost ~]# /usr/local/seata/bin/seata-server.sh restart
5、访问Nacos
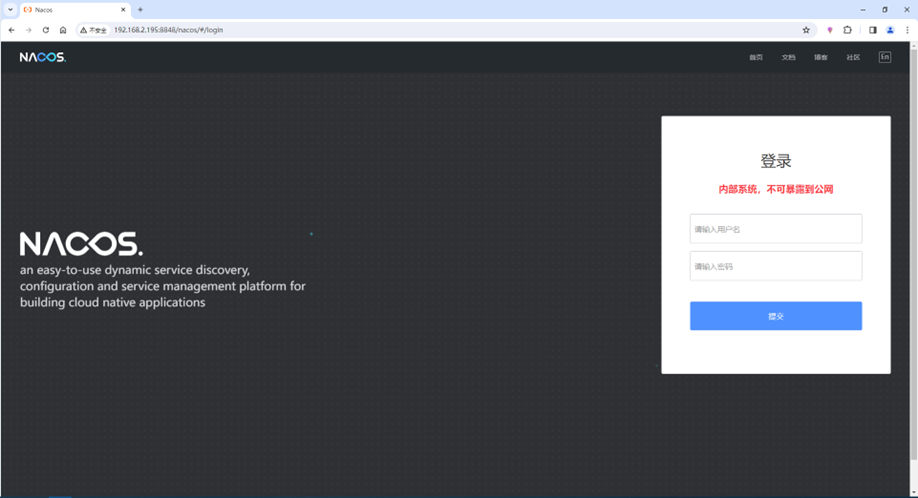
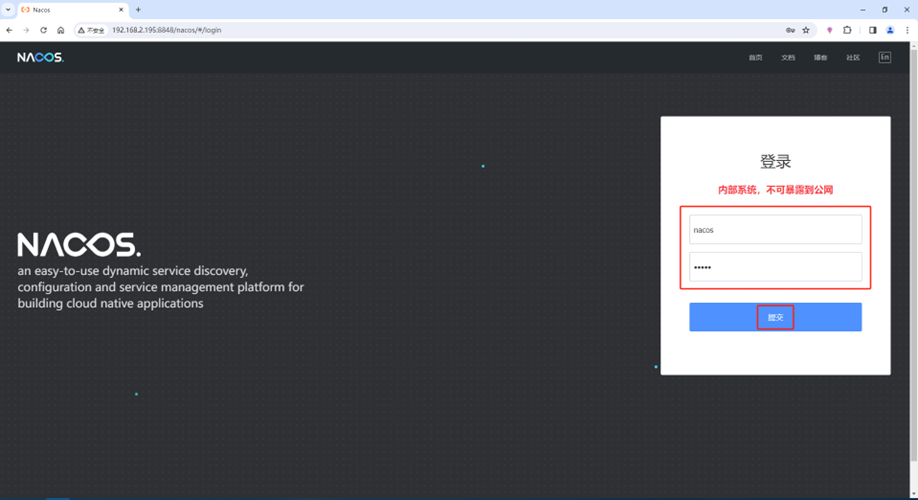
# 浏览器访问:http://192.168.2.195:8848/nacos,如下图所示
# 默认账号:nacos,默认密码:nacos
2、基于Docker
1)快速启动seata-server
[root@localhost ~]# docker run -d --name seata-server -p 8091:8091 -p 7091:7091 -v /etc/localtime:/etc/localtime seataio/seata-server:1.8.0
2)指定seata-server的IP和端口
[root@localhost ~]# docker run -d --name seata-server -p 8091:8091 -p 7091:7091 -e SEATA_IP=192.168.2.195 -e SEATA_PORT=8091 -v /etc/localtime:/etc/localtime seataio/seata-server:1.8.0
3、基于Docker-Compose
1)创建docker-compose.yaml
[root@localhost ~]# vim docker-compose.yaml
version: "3"
services:
  seata-server:
    image: seataio/seata-server:1.8.0
    hostname: seata-server
    ports:
      - "8091:8091"
      - "7091:7091"
    environment:
      - SEATA_PORT=8091
      - STORE_MODE=file
2)启动seata-server
[root@localhost ~]# docker-compose up -d
3)环境变量
seata-server支持以下环境变量:
SEATA_IP:可选,指定seata-server启动的IP,该IP用于向注册中心注册时使用,如eureka等。
SEATA_PORT:可选,指定seata-server启动的端口,默认为8091。
STORE_MODE:可选,指定seata-server的事务日志存储方式,支持db、file、
redis(Seata-Server 1.3及以上版本支持), 默认是file。
SERVER_NODE:可选,用于指定seata-server节点ID, 如1、2、3...,默认为根据ip生成。
SEATA_ENV:可选,指定 seata-server 运行环境, 如dev、test等,服务启动时会使用registry-dev.conf这样的配置。
SEATA_CONFIG_NAME:可选,指定配置文件位置, 如file:/root/registry,将会加载/root/registry.conf作为配置文件,如果需要同时指定file.conf文件,需要将registry.conf的config.file.name的值改为类似file:/root/file.conf:
若文章图片、下载链接等信息出错,请在评论区留言反馈,博主将第一时间更新!如本文“对您有用”,欢迎随意打赏,谢谢!



评论