系统环境:
操作系统:CentOS Linux release 7.4.1708 (Core)
服务器IP:192.168.8.23
客户端IP:192.168.8.24
1)修改yum源为阿里云源
#备份系统自带的yum源
[root@localhost ~]# cd /etc/yum.repos.d
[root@localhost yum.repos.d]# mkdir bak
[root@localhost yum.repos.d]# mv *.repo bak
2)修改为阿里云yum源
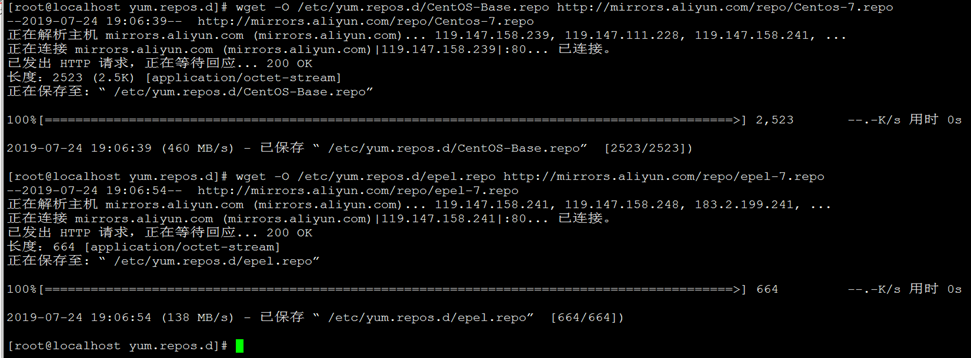
[root@localhost yum.repos.d]# wget -O /etc/yum.repos.d/CentOS-Base.repo http://mirrors.aliyun.com/repo/Centos-7.repo
[root@localhost yum.repos.d]# wget -O /etc/yum.repos.d/epel.repo http://mirrors.aliyun.com/repo/epel-7.repo
3)检验阿里云源是否正常
#清除缓存
[root@localhost yum.repos.d]# yum clean all
#生成缓存
[root@localhost yum.repos.d]# yum makecache
[root@localhost yum.repos.d]# yum repolist
4)安装相关软件
[root@localhost yum.repos.d]# yum install -y wget make cmake gcc gcc-c++ pcre-devel zlib-devel openssl openssl-devel createrepo yum-utils
yum-utils:reposync同步工具
createrepo:编辑yum库工具
plugin-priorities:控制yum源更新优先级工具,这个工具可以用来控制进行yum源检索的先后顺序,建议可以用在client端。
注:由于很多人喜欢最小化安装,上边软件是一些常用环境。
5)根据源标识同步源到指定目录
#创建同步目录
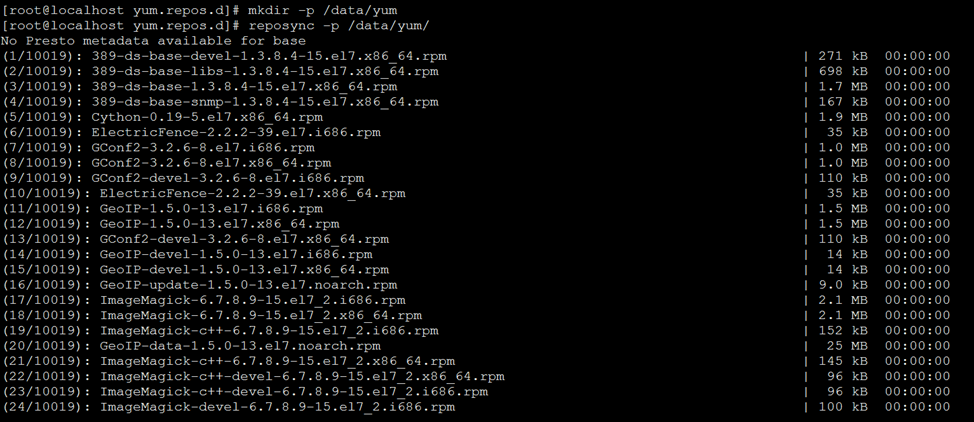
[root@localhost yum.repos.d]# mkdir -p /data/yum
#同步到本地目录
[root@localhost yum.repos.d]# reposync -p /data/yum
注:不用担心没有创建相关目录,系统自动创建相关目录,并下载,时间较长请耐心等待(大约20分钟,大约30多G)。
可以用 repo -r --repoid=repoid指定要查询的repo id,可以指定多个(reposync -r base -p /data/yum #这里同步base目录到本地)
#更新新的rpm包(可以略过)
[root@localhost yum.repos.d]# reposync -np /data/yum
注:时间同样较长,请耐心等待。
6)创建索引
[root@localhost yum.repos.d]# createrepo -po /data/yum/base/ /data/yum/base/
[root@localhost yum.repos.d]# createrepo -po /data/yum/extras/ /data/yum/extras/
[root@localhost yum.repos.d]# createrepo -po /data/yum/updates/ /data/yum/updates/
[root@localhost yum.repos.d]# createrepo -po /data/yum/epel/ /data/yum/epel/
#更新源数据
[root@localhost yum.repos.d]# createrepo --update /data/yum/base/
[root@localhost yum.repos.d]# createrepo --update /data/yum/extras/
[root@localhost yum.repos.d]# createrepo --update /data/yum/updates/
[root@localhost yum.repos.d]# createrepo --update /data/yum/epel/
7)安装Nginx服务
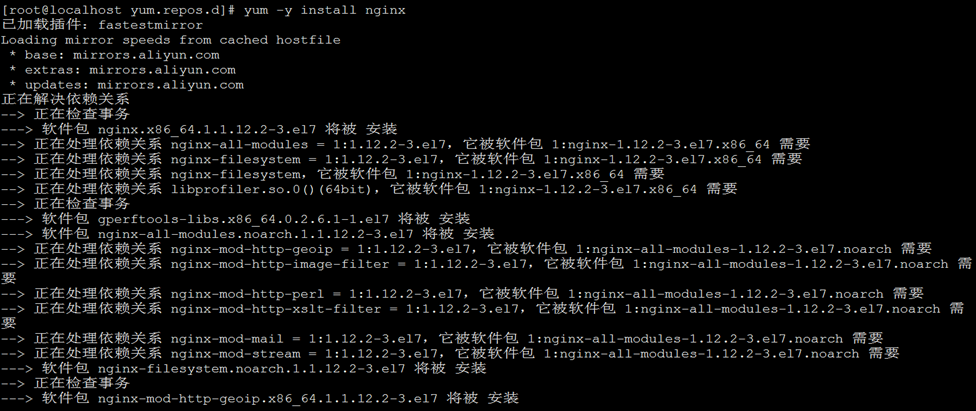
[root@localhost yum.repos.d]# yum -y install nginx
8)配置Nginx
[root@localhost yum.repos.d]# vim /etc/nginx/nginx.conf
    user nginx;
    worker_processes auto;
    error_log /var/log/nginx/error.log;
    pid /run/nginx.pid;
    include /usr/share/nginx/modules/*.conf;
events    {
    worker_connections 1024;
    }
http    {
    log_format main    '$remote_addr - $remote_user [$time_local] "$request" '
            '$status $body_bytes_sent "$http_referer" '
            '"$http_user_agent" "$http_x_forwarded_for"';
    access_log /var/log/nginx/access.log main;
    sendfile on;
    tcp_nopush on;
    tcp_nodelay on;
    keepalive_timeout 65;
    types_hash_max_size 2048;
    include /etc/nginx/mime.types;
    default_type application/octet-stream;
    include /etc/nginx/conf.d/*.conf;
    server {
    listen 80;
    server_name localhost;
    location / {
    root    /data/yum;
    autoindex on; #打开目录浏览功能
    autoindex_exact_size off; #off:以可读的方式显示文件大小
    autoindex_localtime on; #on、off:是否以服务器的文件时间作为显示的时间
    charset utf-8,gbk; #展示中文文件名
    index index.html;
    }
    error_page 404 /404.html;
    location = /40x.html {
    }
    error_page 500 502 503 504 /50x.html;
    location = /50x.html {
    }
}
}
9)启动Nginx服务
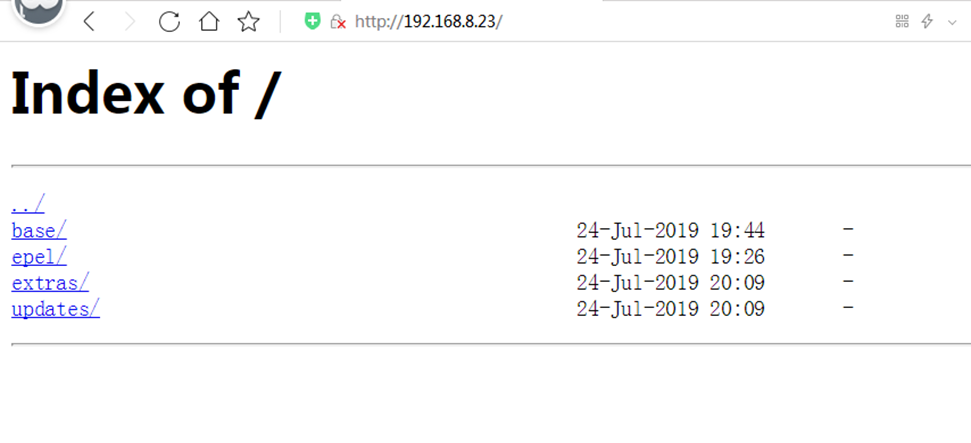
[root@localhost yum.repos.d]# systemctl start nginx
#浏览器访问服务器IP
10)在客户端修改yum源,并指向本地yum源
[root@localhost ~]# cd /etc/yum.repos.d
#备份yum源
[root@localhost yum.repos.d]# mkdir back
[root@localhost yum.repos.d]# mv *.repo back
[root@localhost yum.repos.d]# vim CentOS-7-Base.repo
[base]
name=CentOS-$releasever - Base - mirror.template.com
baseurl=http://192.168.8.23/base/
path=/
enabled=1
gpgcheck=0

[updates]
name=CentOS-$releasever - Updates - mirror.template.com
baseurl=http://192.168.8.23/updates/
path=/
enabled=1
gpgcheck=0

[extras]
name=CentOS-$releasever - Extras - mirrors.template.com
baseurl=http://192.168.8.23/extras/
path=/
enabled=1
gpgcheck=0

[epel]
name=CentOS-$releasever - epel - mirrors.template.com
baseurl=http://192.168.8.23/epel/
failovermethod=priority
enabled=1
gpgcheck=0
[root@localhost yum.repos.d]# yum clean all
[root@localhost yum.repos.d]# yum repolist
若文章图片、下载链接等信息出错,请在评论区留言反馈,博主将第一时间更新!如本文“对您有用”,欢迎随意打赏,谢谢!




不错
自己拿沙发